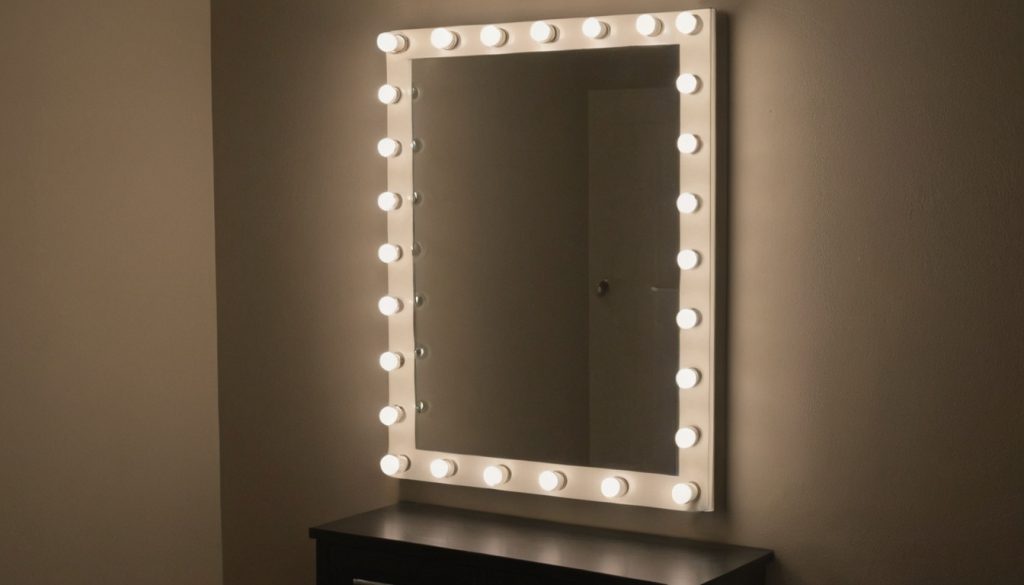
One fixed vanity window creates three viable lighting paths: ceiling cross-lighting, fixtures beside the window, or a separate mirror station. Choosing among them before electrical rough-in protects facial lighting, window operation, inspection approval, and the renovation budget.
The fixed vanity window determines which bathroom lighting ideas will work
Treat the fixed vanity window as the first design dimension. Measure the opening, trim, sink, counter, ceiling, framing, utilities, and user eye positions before pricing fixtures or mirrors.
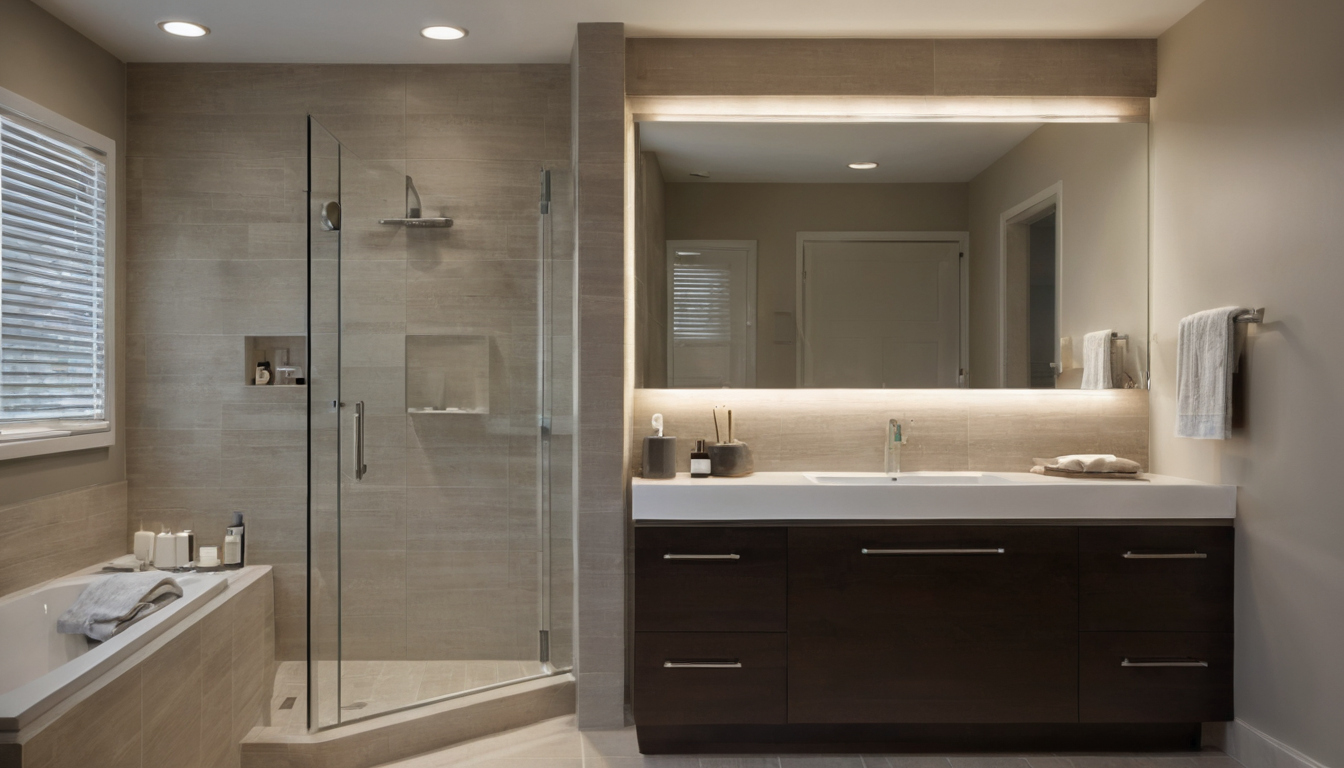
The fixed vanity window determines which bathroom lighting ideas will work shown as a planning reference for layout, scale, and material decisions.
Which vanity-window dimensions must be measured before fixtures are priced?
- Draw a dimensioned elevation. Record finished-floor heights for the countertop, window sill, window head, ceiling, and any soffit. Add the vanity width, sink centerline, faucet height, rough and finished window openings, casing projection, jamb depth, wall returns, and possible fixture centers.
- Draw a dimensioned plan. Show counter depth, expected face position, adjacent walls, door swings, mirror options, medicine cabinets, receptacles, switches, HVAC grilles, and candidate fixture locations.
- Test window operation. Measure sash travel and clearances for locks, cranks, shades, screens, and trim. A fixture that blocks a crank or prevents shade removal is not workable.
- Verify concealed conditions. Locate studs, headers, plumbing vents, existing outlet boxes, and accessible ceiling cavities. Mark uncertain locations “verify after demolition” instead of allowing the contractor to assume an easy wiring route.
- Record location risks. Note whether the window or proposed fixture is within or near a tub or shower. Ask the local building department which adopted safety-glazing and electrical-location provisions apply if the work alters that area.
Photograph the vanity from each user position in daylight and after dark, with the existing lights on and off. If demolition or patching disturbs painted finishes, plan ventilation while VOC-emitting products are being used, as recommended by the U.S. Environmental Protection Agency.
Whose face position should the vanity lighting be designed around?
- Record the shortest and tallest regular users’ eye heights and normal standing distances from the window or mirror.
- List tasks such as shaving, makeup application, contact-lens care, hair care, and handwashing.
- Include seated use, reach limits, aging-in-place needs, and other accessibility conditions.
This field worksheet turns a vague lighting preference into measured geometry. The measurements also reveal which of the three possible layouts deserves to be tested first.
Three layouts solve a vanity window, but each solves a different constraint
Choose among ceiling cross-lighting, window-flanking fixtures, and an adjacent mirror station by checking usable space, user sight lines, nighttime glare, window operation, wiring access, and where detailed grooming will occur.
Which vanity-window lighting layout is the best starting point?
-
Start with ceiling cross-lighting when no usable wall strips remain beside the window. This layout needs ceiling area where opposing fixtures can be positioned around the measured face plane. Properly aimed fixtures can light both sides of the face while leaving the window trim and hardware unobstructed.
The main risks are under-eye shadows, downward glare, and bright reflections in dark glass. Installation may require ceiling access, new cable routes, blocking, suitable housings, and service access for lamps or drivers. A permanent mirror can be placed elsewhere, or a movable mirror can serve occasional close work.
-
Consider window-flanking fixtures when clear wall and framing exist outside the casing. Fixtures near face level can produce balanced side lighting, but their backplates, outlet boxes, shades, and fasteners must clear the casing, sash, locks, cranks, and window coverings.
Exterior-wall headers, insulation, air sealing, and limited box depth can make rough-in expensive. Exposed lamps can also reflect in the glass after dark. This layout fits a wide wall with verified framing and generous side clearances.
-
Move detailed grooming to an adjacent mirror station when the window wall cannot support useful task lighting. A separate station needs clear wall area, a comfortable standing or seated position, circulation space, receptacle access, and an achievable wiring route.
Directly lighting the adjacent mirror can give makeup, shaving, and skin-care tasks more controllable illumination. The tradeoff is that the permanent mirror moves away from the basin, so the household must be comfortable moving between the sink and grooming station.
Require a nighttime mock-up for the preferred layout because daylight changes with weather, orientation, glazing, and shades. Price fixture procurement separately from installation labor, using exact models or explicit allowances. For ceiling cross-lighting, the next test is whether light reaches the face rather than merely brightening the countertop.
Ceiling cross-lighting must illuminate the face from both sides, not only the countertop
Ceiling cross-lighting can replace side sconces when two controlled beams reach the user’s face from opposing directions without creating strong facial shadows or reflected glare.
Where should ceiling fixtures sit relative to the user’s face?
Cross-lighting means coordinated illumination arriving from opposite sides of the vertical face plane. It does not mean placing two evenly spaced recessed lights over the sink. Fixtures centered above the countertop or the top of the user’s head can brighten the basin while leaving the eyes, cheeks, and underside of the chin in shadow.
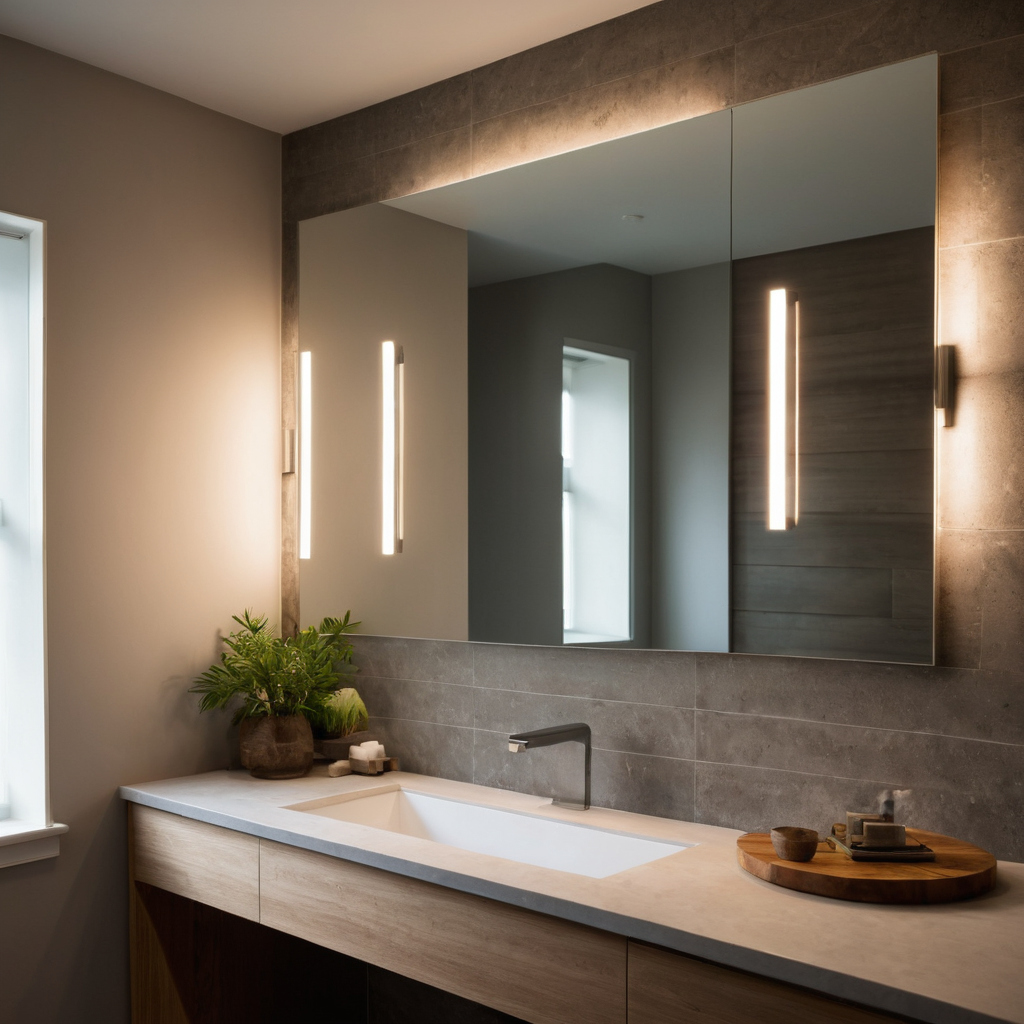
Ceiling cross-lighting must illuminate the face from both sides, not only the countertop shown as an editorial reference for proportion and finish coordination.
Draw both a plan and a section before approving ceiling openings. The plan should show the sink centerline, vanity edge, each fixture center, normal standing or seated positions, and the measured horizontal distance from the vanity edge to each user’s face. The section should show finished ceiling height, eye height, fixture setback, beam direction, window, mirror, soffits, slopes, structural beams, and HVAC grilles.
Fixture selection must follow that geometry. Obtain the exact luminaire’s LM-63 photometric file, candela distribution, lumen output, beam and field angles, shielding, aiming range, and installation instructions. Confirm whether the ceiling is insulated, air-sealed, sloped, fire-rated, or inaccessible from above. The electrician can then specify an appropriate listed housing and support method.
Request a point-by-point calculation at the vertical face plane and the relevant countertop task plane. The calculation should use the proposed mounting orientation and reasonable reflectances for the ceiling, walls, tile, countertop, and cabinetry. Do not approve a universal fixture offset or illuminance target without current lighting guidance and project-specific photometry.
If qualified products suit the design, ENERGY STAR reports that qualified LED lighting uses at least 75 percent less energy and lasts up to 25 times longer than incandescent lighting. Energy performance is useful, but it does not correct poor fixture placement or unsuitable optics.
How is glare checked in a dark vanity window?
Nighttime testing matters because dark glazing can behave like a mirror. From the shortest and tallest users’ eye positions, check for bright fixture images in the window, nearby mirrors, polished tile, shower glass, and glossy countertops. Repeat the test with the interior shade open and closed and with realistic exterior lighting.
Photograph each sight line while testing full output and the proposed dimming range. Record fixture shielding, aperture brightness, cutoff, aiming limits, glass type, shade position, and reflective finishes. If a user sees a harsh source image, revise the aim, optic, shielding, or fixture position. A dimmer may reduce brightness, but it cannot repair bad geometry.
What makes a ceiling cross-lighting mock-up credible?
A credible mock-up reproduces the proposed mounting height, lateral offsets, face positions, and optics. Temporary bare utility bulbs do not represent shielded adjustable luminaires. Use the candidate fixture or a manufacturer-confirmed optical equivalent, supported securely without damaging finished surfaces.
- Test each fixture separately to verify that both sides contribute light to the face.
- Test full output and proposed dimmed levels with ceiling, shower, and decorative lights independently controlled.
- Inspect facial shadows and direct or reflected glare from every regular user position.
- Record fixture centers, aiming settings, controls, photographs, and written homeowner approval before rough wiring or drywall closure.
If mock-up work or relocated openings require patching and painting, protect indoor air quality during finish restoration. The U.S. Environmental Protection Agency identifies paints and building materials as common indoor VOC sources. If ceiling geometry remains too restrictive, test whether wall-mounted fixtures or an adjacent mirror station avoid those constraints.
Window-flanking fixtures and an adjacent mirror station work only under specific space conditions
Approve window-flanking fixtures only when solid wall, framing, operating clearance, and suitable fixture locations remain beside the opening. Otherwise, an adjacent illuminated mirror station usually offers more controllable grooming light.
When can sconces safely flank the vanity window?
Require the contractor to draw both fixture centers on the wall elevation and confirm that each outlet box can be installed without improperly cutting concealed window framing. Then check the following risks:
- Exact fixture dimensions: Record backplate width, fixture projection, lamp or diffuser size, permitted mounting orientation, and required service clearance. A visually narrow fixture may still require a wide outlet box or backplate.
- Moving components: Verify clearance from casing, sash, locks, cranks, shades, medicine cabinets, doors, and removable screens. Operate the window and shade through their full travel during the mock-up.
- Concealed construction: Locate studs, header ends, wiring, insulation, and air-sealing layers. The quote should state whether rough-in requires remodeling boxes, surface raceway, wall reconstruction, or restoration of insulation and air barriers.
- User sight lines: Stand where each regular user grooms. Confirm that the fixtures appear balanced around the face without producing exposed bright sources or distracting reflections in dark glass.
- Location suitability: The electrician should document the fixture listing required for its actual proximity to a tub, shower, or damp or wet condition. A decorative bathroom label alone does not establish suitability for every location.
When is an adjacent mirror station better than lighting the sink?
An adjacent station is the stronger choice when narrow window margins, concealed framing, glare, or window hardware prevent useful side lighting. The station separates close facial work from handwashing, but moving between the sink and mirror must remain convenient.
- List frequent tasks, then mark the standing or seated position needed by each user.
- Measure mirror width, normal viewing distance, circulation clearance, nearby door swings, receptacle access, and the travel path from the sink with wet hands.
- Select side fixtures, an integrated-light mirror, or another serviceable assembly. Before purchasing, compare built-in mirror LEDs with separate side lights, including color documentation, dimmer compatibility, driver access, and replacement procedures.
- Retain general illumination at the sink even when detailed grooming moves elsewhere. Treat daylight as supplemental because the layout must work after dark and with the shade closed.
Once the workable location is established, select the fixture by documented performance rather than decorative appearance alone.
Fixture photometry and window data matter more than a fixture's decorative style
Specify a vanity fixture by light distribution, shielding, color performance, output, dimming behavior, location rating, and service method before selecting its finish.
Which fixture specifications belong on the bathroom lighting schedule?
The lighting schedule should identify one purchasable configuration, not a product family or a decorative description. Require:
- Manufacturer and complete catalog number, including optic, lumen package, color temperature, finish, voltage, and driver suffixes.
- Fixture dimensions, mounting orientation, shielding details, optical distribution, cutsheet, and LM-63 photometric file for the exact configuration.
- Documented color-rendering metrics, chromaticity tolerance, rated-life basis, compatible dimmers, and reported low-end dimming behavior.
- Installation instructions covering orientation limits, outlet-box requirements, support, clearances, aiming, and service access.
- A statement identifying whether failure requires replacement of a lamp, light engine, driver, or entire fixture, along with the necessary access path.
- The fixture listing and permitted location, with the electrician confirming suitability where a tub, shower, or wet area affects placement.
Modern bathroom ideas can guide finish selection only after the fixture satisfies visual comfort, maintenance, installation, and code constraints.
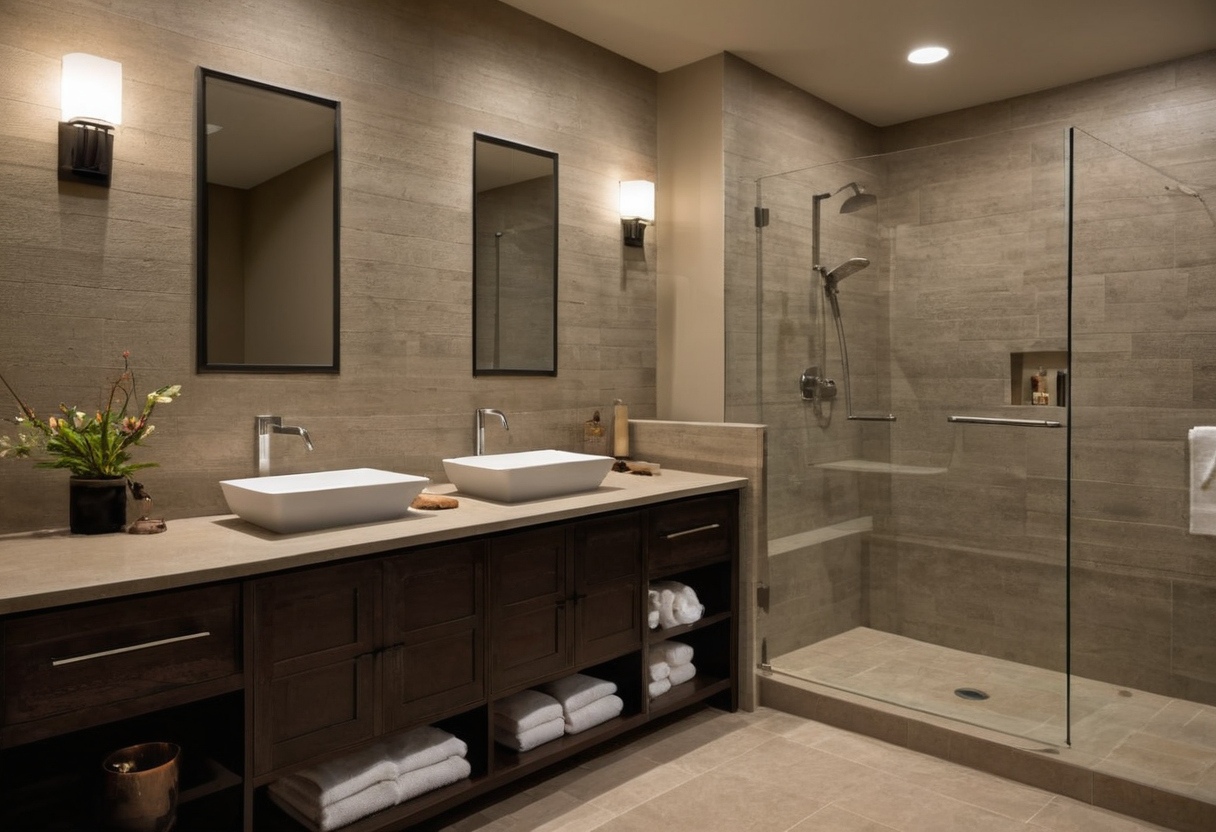
Fixture photometry and window data matter more than a fixture's decorative style shown as an editorial reference for proportion and finish coordination.
What does window visible transmittance tell the lighting designer?
Visible transmittance describes how much visible light passes through the whole window product under its rated conditions. The NFRC Certified Products Directory can provide certified ratings when the manufacturer, product line, operator type, and glazing configuration are known. Record the value as unverified instead of estimating it from the appearance of the glass when no exact match exists.
- Record window dimensions, orientation, exterior obstructions, overhangs, privacy glazing, films, and interior shades.
- Pair daytime observations with a separate nighttime electric-lighting test from every regular user position.
- If the renovation changes glazing near a bathing area, ask the code official whether safety glazing applies. 16 CFR Part 1201 establishes product impact-test requirements, while the locally adopted building code determines where safety glazing is required.
With the fixture and window records settled, the contractor can price the electrical work without hiding major decisions inside allowances.
A complete bathroom-lighting quote must define electrical scope, allowances, and final testing
A usable quote identifies every fixture, outlet box, support method, circuit connection, control, permit, finish repair, and testing responsibility. Do not assume an undefined fixture allowance includes dimmers, patching, or commissioning.
Where do bathroom-lighting quotes hide allowances and exclusions?
Require complete catalog numbers and quantities for fixtures, lamps, drivers, trims, controls, and illuminated-mirror assemblies. If a product remains an allowance, state the dollar amount and whether that amount includes tax, freight, contractor markup, returns, and restocking charges.
- List ceiling cross-lighting, window-flanking fixtures, and an adjacent mirror station as separate alternates.
- Define labor for demolition, exploratory openings, boxes, wiring access, framing changes, insulation, air sealing, drywall, tile, paint, waterproof finishes, window trim, and debris removal.
- State substitution rules, lead-time responsibility, exclusions, and change-order rates.
Concealed framing, inaccessible ceiling cavities, exterior-wall wiring, obsolete wiring, and finish restoration require field verification. Any wet insulation or damp cavity discovered during demolition should be corrected promptly. The EPA mold and moisture guide recommends fixing wet or damp spots promptly to prevent mold growth.
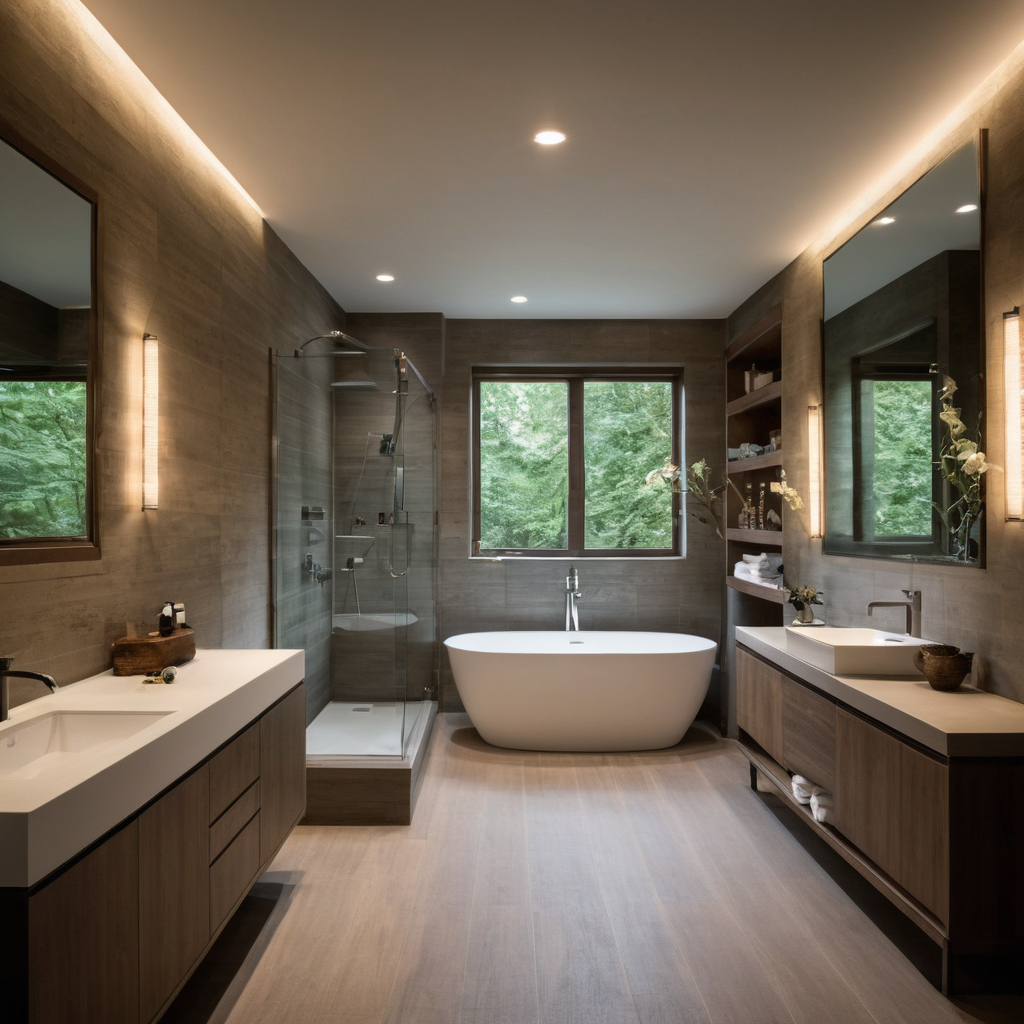
A complete bathroom-lighting quote must define electrical scope, allowances, and final testing shown with finish, fixture, and clearance relationships visible.
Which electrical requirements must the permit set and quote identify?
The permit documents should name the jurisdiction, authority having jurisdiction, adopted electrical-code edition, and local amendments. Drawings or notes should locate fixtures, new and reused boxes, switches, dimmers, sensors, receptacles, circuit sources, wiring routes, conductor work, and required neutrals.
The electrician must verify bathroom receptacle-circuit requirements separately from lighting decisions. The scope should also address applicable GFCI protection, restrictions near tubs and showers, damp- or wet-location listings, listed box-support methods, permits, plan review, inspections, and manufacturer installation instructions.
How should the finished vanity lighting be inspected before final payment?
- Match installed model numbers, locations, aiming, supports, trims, and control labels to the approved schedule.
- Test dimmers throughout their range for flicker, dropout, noise, and control compatibility. Adjust the low end only where the manufacturer permits.
- After dark, inspect facial shadows and direct or reflected glare from every regular user position.
- Confirm that the window, shade, cabinets, screens, and doors operate without striking fixtures.
- Collect inspection approvals, manuals, compatible-component lists, spare parts, warranties, and the final fixture schedule.
Approve electrical rough-in only after measured fixture locations, permit scope, allowances, restoration work, and nighttime acceptance testing appear in writing.
Frequently asked questions
What are the most common bathroom-lighting mistakes when a window is centered over the vanity?
Common mistakes include centering downlights over the sink instead of the user’s face, relying on daylight, overlooking window hardware, selecting fixtures before checking framing, and skipping a nighttime glare test. Another costly mistake is accepting a fixture allowance that does not identify controls, wiring access, patching, or final aiming.
Where should sconces go when a vanity window leaves only narrow strips of wall?
Do not force sconces into narrow wall strips based on appearance alone. The exact backplate, outlet box, casing, framing, operating hardware, and user sight line must fit. If those conditions cannot be documented, use ceiling cross-lighting or move detailed grooming to an adjacent mirror station.
Should a vanity light be wider or narrower than the mirror when the mirror moves to an adjacent wall?
No universal width relationship guarantees good facial lighting. Select fixture width and position from the mirror size, user face positions, light distribution, shielding, mounting instructions, and mock-up results. The goal is balanced light across the face without an exposed bright source.