A polished illuminated floor mirror can become an expensive wall repair when its driver fails behind finished plaster, or a daily disappointment when its bright border casts hard shadows under the eyes. The responsible default is separate vertical lighting. Integrated LEDs earn their place only when the mirror, lighting, wiring, controls, and service route have been specified as one repairable assembly.
Should floor mirrors use built-in LEDs or separate side lights?
Separate vertical fixtures are usually stronger for floor mirrors used for dressing or grooming. Integrated LEDs suit compact installations, but only when forward output, color data, driver access, dimming compatibility, and parts support are documented before purchase.
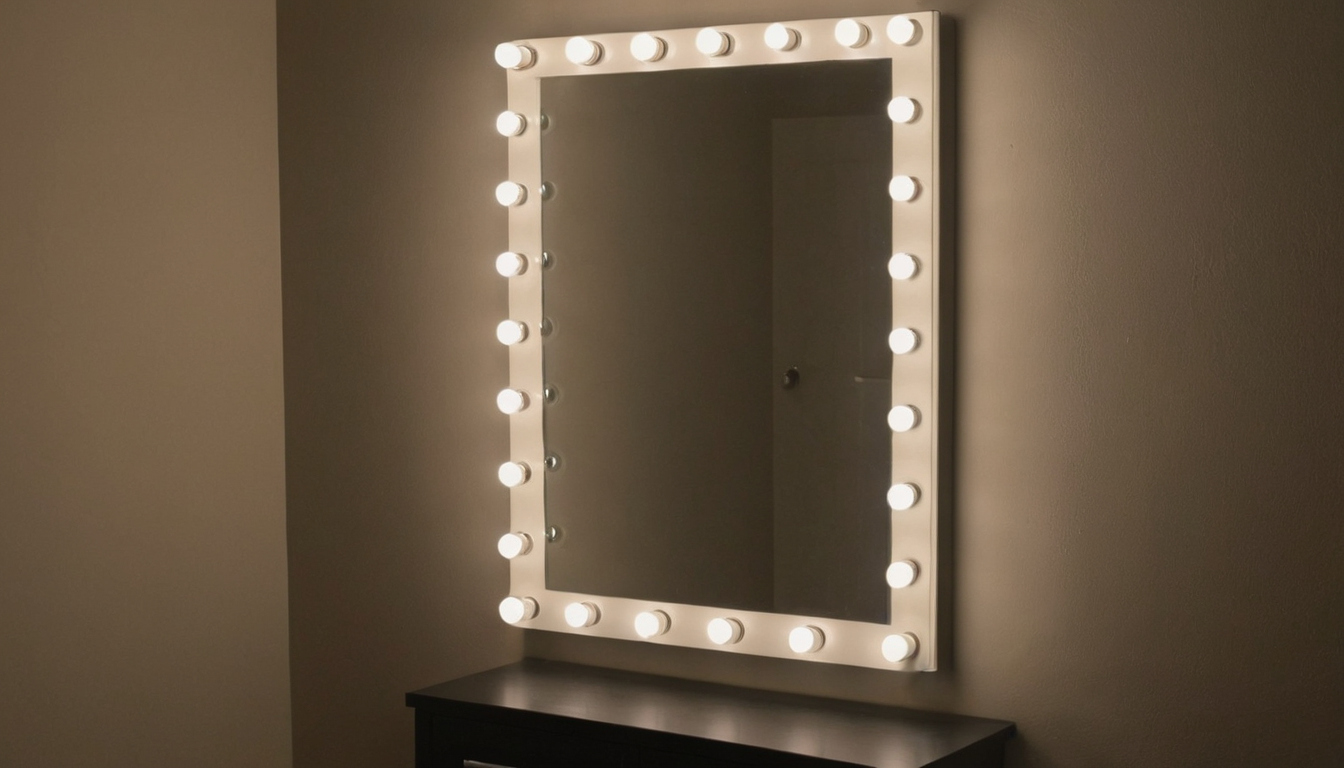
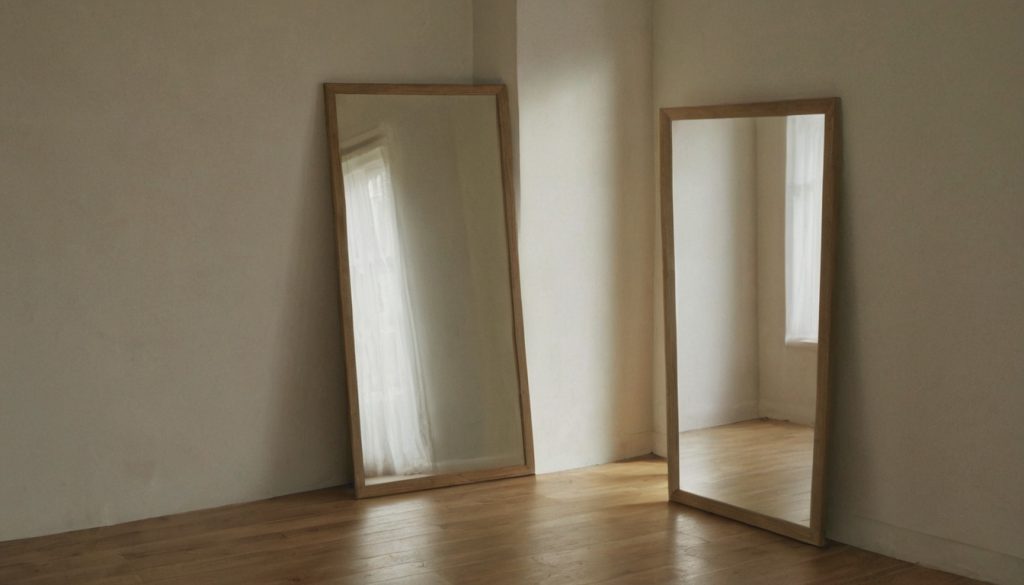
Should floor mirrors use built-in LEDs or separate side lights shown with practical context cues.
| Decision point | Front-emitting LEDs | Halo backlighting | Two vertical fixtures |
|---|---|---|---|
| User illumination | Useful if output projects forward | Mostly lights the wall | Direct, adjustable task light |
| Facial shadows | Depends on illuminated length | Often leaves the face underlit | Usually the most balanced |
| Color documentation | Varies by manufacturer | Often secondary to appearance | Easier to specify by lamp or fixture |
| Wiring and controls | One coordinated assembly | One coordinated assembly | More boxes and wall width |
| Replaceable parts | May be proprietary | May be proprietary | Fixtures and controls remain independent |
| Likely replacement scope | LED module, driver, or mirror | Driver, strip, or mirror | One fixture, lamp, or control |
A wall-mounted mirror transfers its load to blocking or rated anchors. A leaning mirror needs an anti-tip restraint, while a freestanding mirror needs stable floor clearance. Dry-room installations avoid some moisture constraints, but bathrooms require location-appropriate electrical equipment. Accessible projects should preserve the 30 by 48 inch clear floor space specified by the 2010 ADA Standards where that requirement applies.
Separate side lights prioritize performance and replaceability around floor mirrors
Two vertical fixtures are the responsible default for tailoring checks, makeup, and frequent dressing because bilateral light reduces one-sided modeling and each component can be serviced separately. Confirm fixture clearances, door swings, mirror width, and junction-box positions before closing the wall. LED efficiency alone does not settle the choice, although ENERGY STAR reports that qualified LEDs use at least 75 percent less energy and last up to 25 times longer than incandescent lighting.
Integrated LEDs prioritize a compact floor-mirror installation
An illuminated mirror is rational where wall width is tight or a single power entry simplifies procurement. The specification must identify whether light emits forward, through an edge, or only behind the glass, plus the driver location, mounting method, controls, warranty, and field-replaceable parts. Source geometry then decides whether the face looks evenly lit or harshly shadowed.
Separate vertical fixtures usually produce fewer facial shadows at floor mirrors
Two broad vertical sources near a floor mirror generally illuminate the face and torso more evenly than a narrow top source or rear halo. Performance still depends on source length, diffusion, spacing, mounting height, beam distribution, and the user’s distance from the glass.
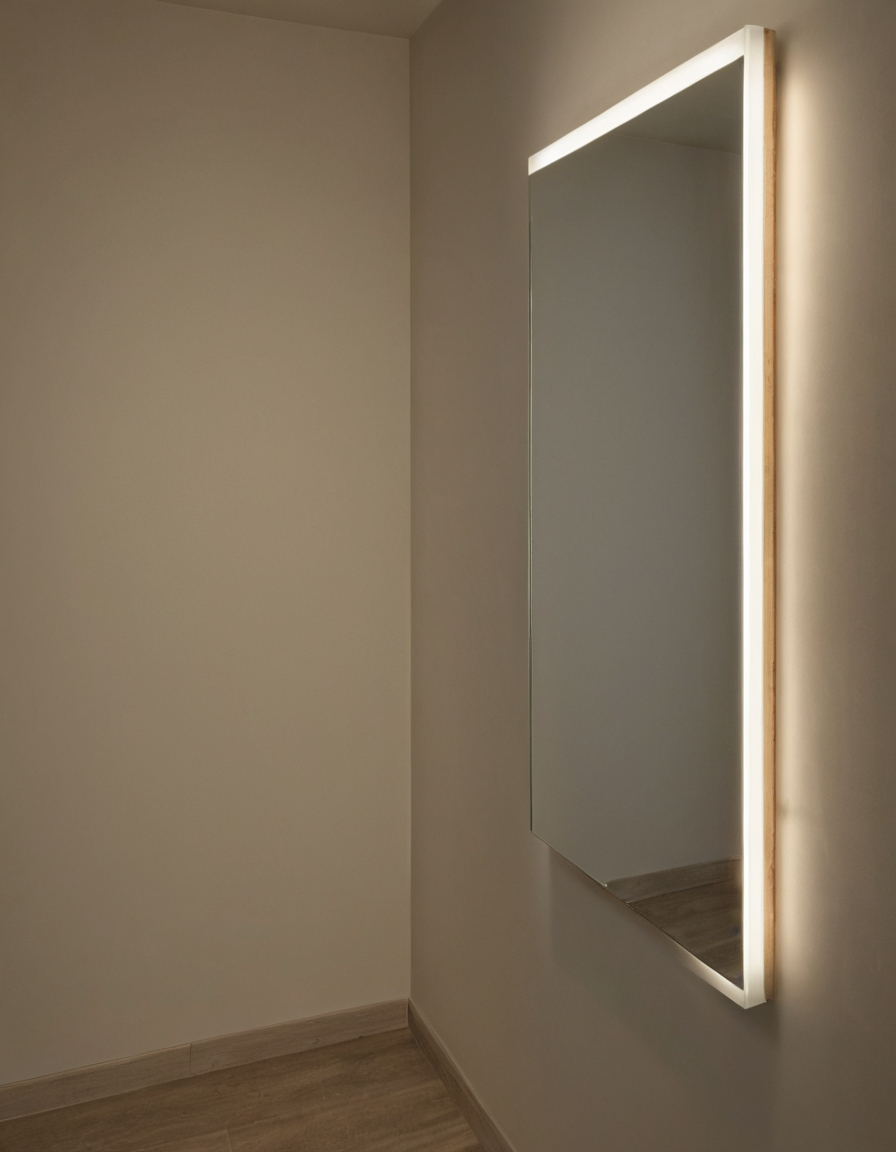
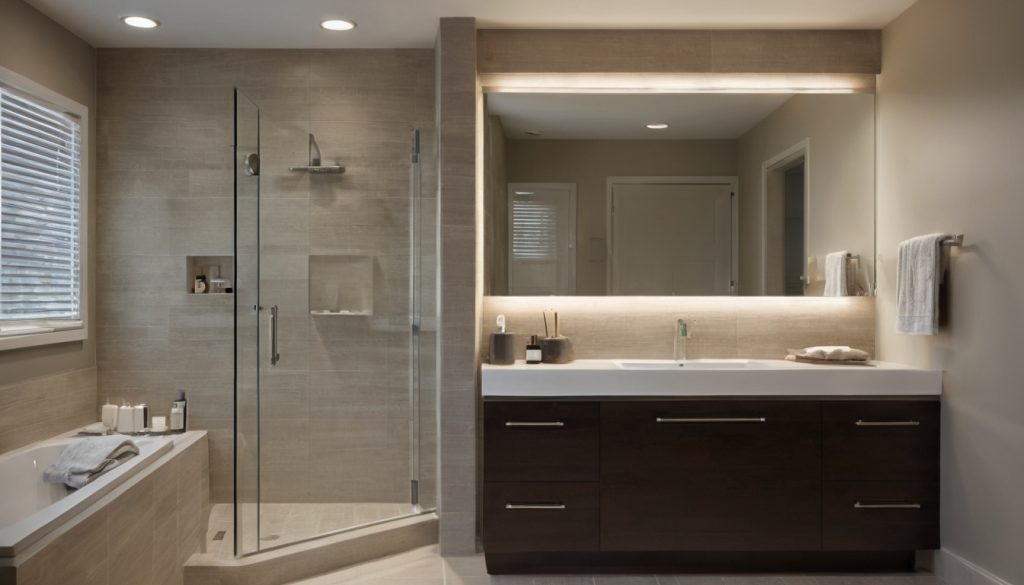
Separate vertical fixtures usually produce fewer facial shadows at floor mirrors shown with practical context cues.
Why does light-source height change shadows at a floor mirror?
Top-heavy lighting directs illumination downward, deepening shadows under the brow, nose, chin, and projecting clothing folds. A short integrated strip can cause the same problem if most output sits above eye level. Bilateral side lights reach both sides of the face, while a single side fixture leaves the opposite cheek comparatively dark.
A useful mock-up keeps the mirror, ambient lighting, wall reflectance, camera exposure, and user positions unchanged. Compare top-only, side-only, and combined arrangements at close grooming and full-body distances. Record vertical illuminance at the forehead, cheeks, chin, chest, waist, knees, and shoes, then note glare, reflected LED points, and uneven coverage.
If the mirror accompanies an accessible seated grooming or work surface, verify the project-specific dimensions. The 2010 ADA Standards place applicable dining and work surfaces between 28 and 34 inches above the finished floor.
How long should side lighting be beside a full-length floor mirror?
Side-light length should follow the inspection zone, not a decorative proportion. Short sconces may serve the face, while longer diffused fixtures better connect facial, torso, and clothing illumination. Check photometric distribution rather than total lumens alone because a bright fixture may send little useful light toward the user.
Backlighting does not automatically provide useful task light at floor mirrors
A rear halo primarily lights the wall. Its contribution depends on wall reflectance, mirror stand-off, ambient light, and how much output reaches forward. Compare user-plane measurements with a front-lit mirror or side fixtures before calling a halo task lighting. Shadow performance comes first, but reliable color requires a broader test. The U.S. Department of Energy describes TM-30-24 as providing greater accuracy and broader color-rendering information than predecessor tools, while also requiring more knowledgeable interpretation.
Color specifications determine whether floor-mirror lighting represents clothing accurately
Color accuracy at floor mirrors cannot be judged from color temperature or CRI alone. Buyers should compare spectral performance, red rendering, fidelity, gamut, consistency, and dimming behavior under the room’s actual finishes.
Which color metrics should buyers request for floor-mirror lighting?
- CCT and Duv: Correlated color temperature describes whether light appears warmer or cooler. Duv indicates a shift that may look greenish or pinkish. Two nominally 3000 K products can therefore look different.
- CRI Ra and R9: CRI Ra summarizes rendering across a limited group of test colors, while R9 reports saturated-red performance. An Ra value of 90 or higher is a useful starting point for dressing light, but it does not guarantee convincing reds, skin tones, navy fabrics, or subtle neutrals.
- TM-30 Rf, Rg, and graphics: Rf describes average color fidelity, while Rg indicates average increases or decreases in saturation. An Rg near 100 suggests broadly neutral saturation, but the color-vector graphic reveals which hue families shift. The U.S. Department of Energy’s TM-30 guidance explains why several metrics and graphics should be interpreted together when selecting a source or weighing color rendering against efficacy. Its referenced Spectral Calculator computes results from a source’s spectral power distribution.
- Test documentation: Request an IES LM-79 report where available, plus manufacturer R9 and TM-30 data. A bare “high CRI” label leaves too much undisclosed.
- Consistency and dimming: Ask for SDCM or comparable consistency information across fixtures, batches, and replacement parts. Three-step SDCM or tighter is a reasonable procurement target for adjacent visible sources. Review full output and representative dimmed settings because some systems shift color while dimming.
One consistent color temperature is safer than mixed light around floor mirrors
Floor-mirror lighting must be evaluated with ceiling lamps, daylight, wall paint, wardrobe finishes, and reflective flooring. A warm border beside cooler downlights can make a white shirt look cream at the shoulders and blue-white near the shoes. Separate switching or dimming allows the mirror assembly to be judged without competing sources.
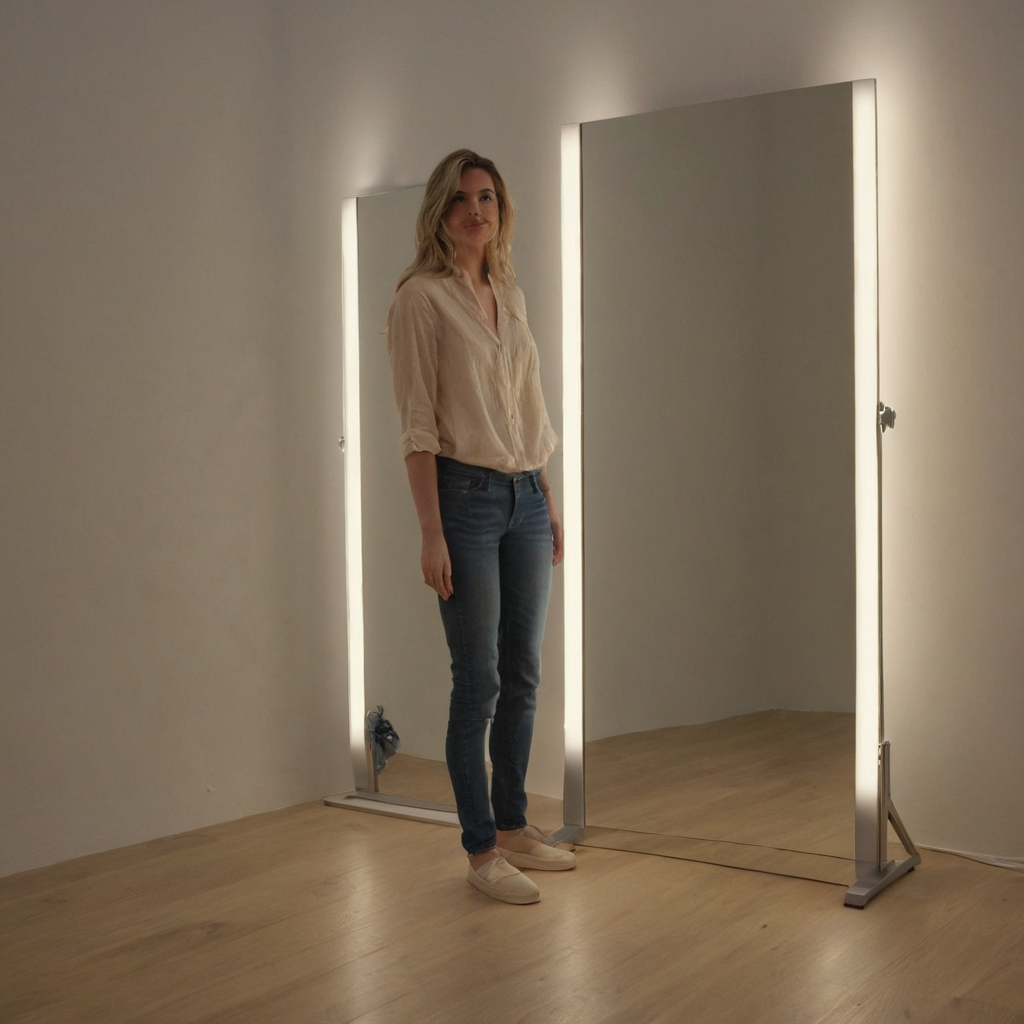
Color specifications determine whether floor-mirror lighting represents clothing accurately shown with practical context cues.
A physical mock-up should include black, white, red, blue, and green fabrics, plus representative skin tones, viewed during daytime and after dark. Fresh paints, varnishes, furnishings, and building materials are identified by the U.S. Environmental Protection Agency as potential indoor VOC sources, so complete and ventilate finish work before an occupied evaluation.
Installation cost for floor-mirror lighting depends on wiring, wall work, and controls
An integrated LED floor mirror is not automatically cheaper than two side lights. Nearby power, driver access, controls, wall construction, anchorage, box locations, and finish repairs determine the installed cost.
Retrofit floor mirrors are cheapest when existing power and wall conditions cooperate
Request itemized electrician quotations for the integrated mirror and two-fixture alternative. Separate allowances for cable routing, boxes, drivers, dimmers, wall opening, patching, painting, and commissioning.
- Locate receptacles, switches, studs, plumbing, ducts, and concealed wiring.
- Confirm whether the product is hardwired, cord-connected, or plug-in.
- Record the mirror weight, anchorage pattern, blocking, substrate, and anti-tip method.
- Identify whether drywall, plaster, tile, paneling, or masonry must be restored.
- For bathrooms, confirm local electrical rules, required protection, location rating, and appropriate product certification.
Floor-mirror lighting should be sequenced before wall finishes and mirror delivery
- Approve the product submittal and field measurements.
- Draw an elevation showing the mirror, fixtures, boxes, controls, cable entries, and accessible driver.
- Install blocking and rough wiring to the manufacturer’s tolerances.
- Finish the wall, then install the assembly without burying service panels.
- Commission aiming, dimming, color settings, and controls under actual room conditions.
The designer should approve spacing, the electrician should own wiring and controls, the carpenter should provide blocking, and the mirror installer should handle glass and anchorage. Installation savings disappear when a failed component cannot be reached.
Service access is the main long-term risk with integrated LED floor mirrors
Integrated floor mirrors can turn a failed driver, sensor, defogger, or LED board into removal of a large, fragile object. Separate side lights contain that risk when fixtures, lamps, and drivers remain accessible.
A replaceable driver makes an integrated floor mirror easier to keep
A serviceable driver needs an accessible location, documented model number, output specification, dimming protocol, and approved replacement. Instructions should show ventilation clearances and state whether access requires lifting the mirror from its anchors.
Request an exploded diagram and identify which drivers, LED boards, sensors, and power supplies are field-replaceable. Confirm parts prices, lead times, compatibility across revisions, labor coverage, and responsibility for glass handling and finish repair.
Proprietary controls can shorten the practical life of a floor mirror
Touch sensors, tunable-white controls, wireless modules, and combined boards add failure points. Ask whether a conventional wall switch or compatible dimmer can bypass a failed proprietary control. A long LED life claim cannot rescue a mirror disabled by a discontinued sensor.
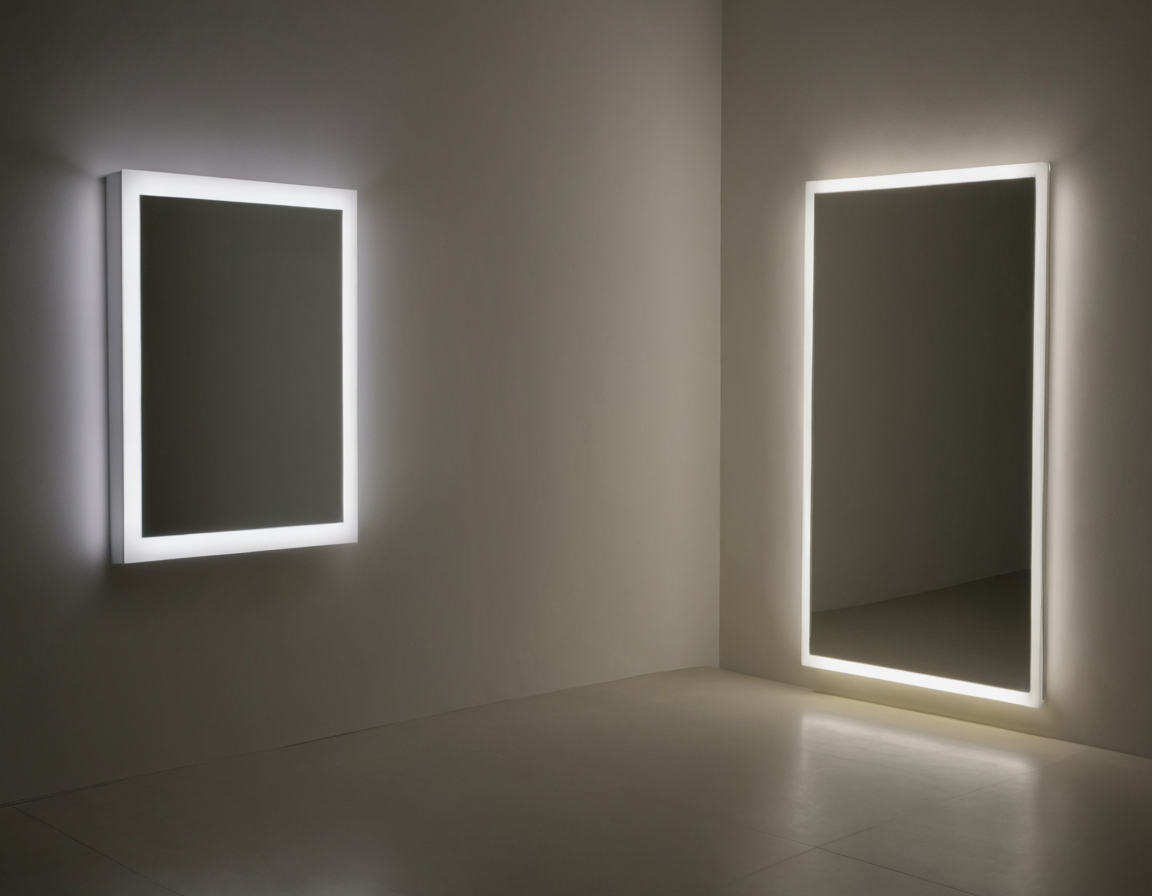
Service access is the main long-term risk with integrated LED floor mirrors shown as an editorial planning reference.
Bathroom floor mirrors require additional moisture and electrical checks
Bathroom installations require documentation that the complete assembly is listed and rated for its intended location, plus confirmation from the electrician and local authority having jurisdiction. Splash exposure, nearby plumbing, cleaning restrictions, power entries, and defogger connections also need review.
The EPA moisture guide recommends correcting condensation and damp spots promptly. If repair work uses adhesives, coatings, or other VOC-emitting products, the EPA recommends increased ventilation during use.
Choose a floor-mirror lighting assembly with a performance and repair checklist
The final choice should follow the task, wall condition, room width, moisture exposure, and ownership horizon. Specify separate vertical fixtures for demanding grooming and straightforward repairs. Choose integrated LEDs for compactness only after verifying forward illumination and component access.
Which floor-mirror lighting option fits each project condition?
| Project condition | Preferred specification |
|---|---|
| Dressing room or grooming-focused closet | Two vertical fixtures plus ambient light |
| Casual bedroom use or narrow wall | Documented front-lit mirror |
| Rental or finished-wall retrofit | Plug-in, replaceable fixtures where permitted |
| Bathroom | Location-rated, appropriately listed assembly reviewed for local requirements |
| New construction or long-term renovation | Serviceable side lights, or an integrated mirror with accessible parts |
Mock up floor-mirror lighting before approving the final installation
Request photometric and color data, the dimming protocol, electrical listing, location rating, warranty, parts policy, driver details, and installation manual. Mock up fixture heights, viewing distances, ambient settings, wall color, and representative clothing. Check the face, torso, knees, and shoes for shadows, glare, color shifts, flicker, and reflected hot spots.
After selecting the electrical assembly, review placing floor mirrors for brightness without reflected glare. Approve performance and service access before procurement, not after the glass reaches the finished wall.
Frequently asked questions
What are the main disadvantages of built-in LEDs in floor mirrors?
Integrated LEDs may have proprietary drivers, sensors, strips, or controls. Failure can require removing the mirror, repairing finishes, or replacing the complete assembly.
Is a front-lit or backlit floor mirror better for makeup and dressing?
A documented front-lit mirror is generally better. Backlighting mainly illuminates the wall and should not be treated as task light unless measurements confirm adequate forward output.
Are illuminated floor mirrors worth the cost when separate side lights can be repaired more easily?
They can be worthwhile on narrow walls or where one coordinated unit simplifies installation. The premium is defensible only when color quality, output, controls, replaceable parts, and warranty support are documented.
Can an integrated LED floor mirror be repaired if its driver, touch control, or LED strip fails?
Repair depends on access, compatible replacement parts, disassembly instructions, and manufacturer support. Confirm those conditions before ordering.
Do bathroom floor mirrors need different electrical and moisture ratings than bedroom floor mirrors?
Yes. The complete bathroom assembly must suit its intended location and local electrical requirements. An electrician should review the listing, moisture rating, protection, power entry, and defogger connection.